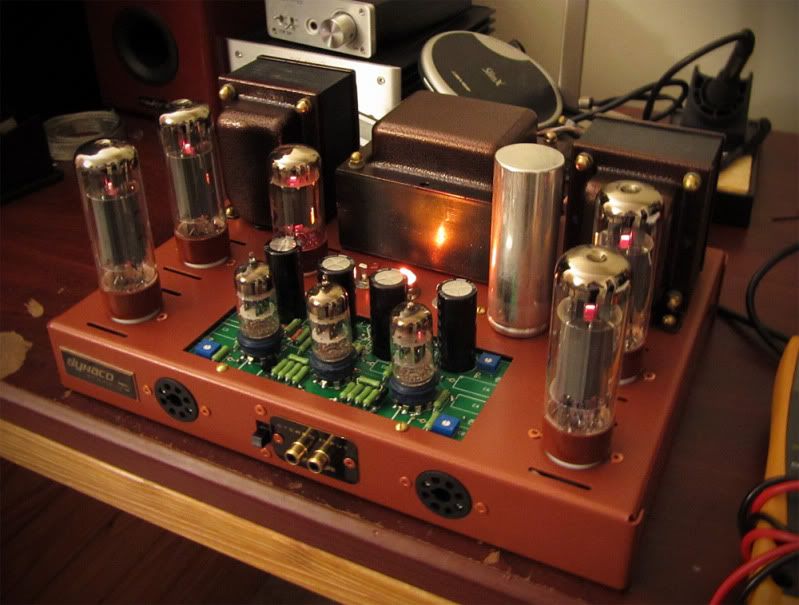
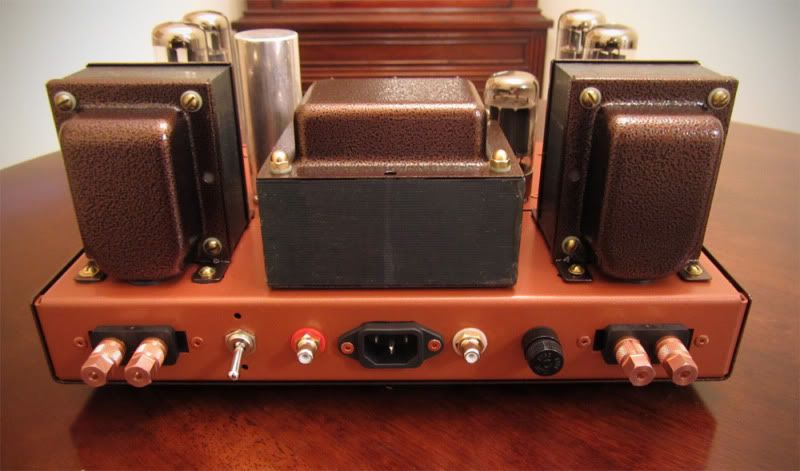
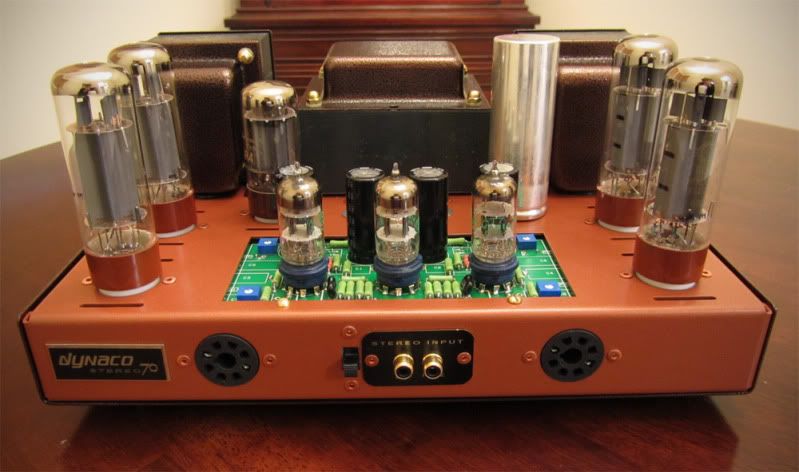
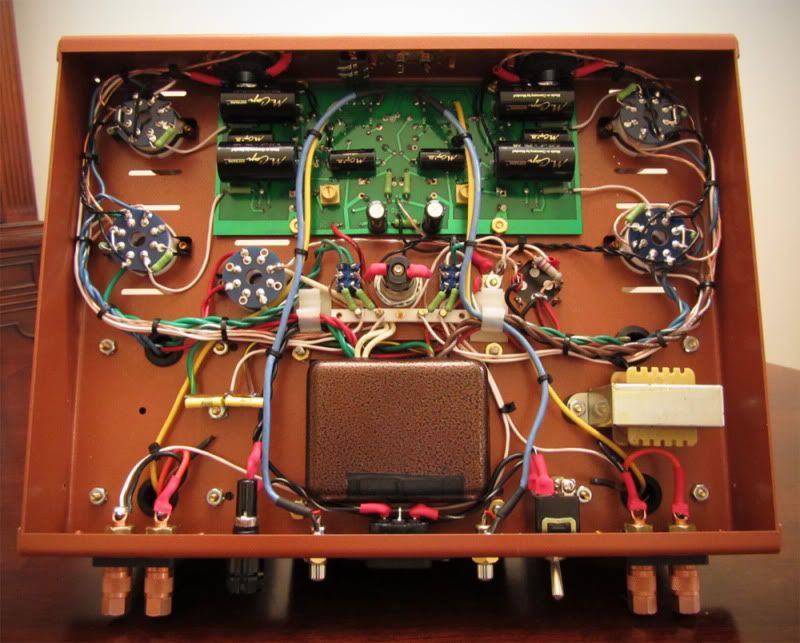
This is a story of rags to riches; turning an abused Dynaco PAS 2 into a very modern PAS 3.
The Dynaco PAS 2, for those who are unaware, is a pre amp kit introduced by Dynaco in 1960 to compliment the Stereo 70 (ST70) that came the year before (1959) and other various other power amplifiers in the company's lineup. The Dynaco PAS has developed a cult following, and there are an immense amount of boards being produced for those interested in restoring such archaic technology :)
CurcioAudio,
Tubes4HiFi,
AudioRegenesis,
ClassicValve and others have created drop-in boards to restore the PAS, whether you want to maintain the same circuit or drop in something completely different.
I chose to use reproductions of the original PAS 3 boards and rather than recreate the rudimentary selenium rectifier with standard capacitors, I chose to make use of the high-tech ClassicValve
PAS Regulated Power Supply.
 |
| ClassicValve Regulated Power Supply |
|
The PAS is a design that was built to fit a budget, so a number of other things are recommended to be replaced. The 2 pole, 6 position switch is rather archaic compared to what is being produced today. A $10 switch would likely be an improvement. I opted to go with an Elma 2 pole, 6 position switch 04-1264 ($60 SRP) so that I wouldn't have to replace it down the line.
 |
| A Stock PAS Switch |
The rear input and output board also leaves something to be desired. Many consider this to be one of the most drastic areas that Dynaco cut costs on the kit. Cheap Nickel plated RCAs on an old PCB board don't really inspire confidence.
 |
| Stock PAS IO Board |
So... let's have a look at the splendid PAS 2 example that I was able to source:
 |
| Original PAS Back |
 |
| Original PAS Back Detail |
 |
| Original PAS Insides |
 |
| Original PAS Outside and Bottom |
The previous user left me with a lot more work that I would have had if I had a pristine PAS 2 / 3. There were a number of unusual mods, including plexiglass mounted RCAs, a 9 pin tube mounted in the middle, a non-descript transformer that was halfway mounted, some additional holes cut out of the back, and a powdercoated front panel that was rubbed with armor-all. No worries, one has to rise to the challenge.
The PAS was completely taken apart, a few parts were set aside, most were disposed of as they had been pillaged by mods. The chassis was sanded down and prepped for powder-coating.
 |
| Chassis Prep |
The new boards were sourced and populated with my favorite parts, Kiwame and Takman resistors and Sonicraft caps.
 |
| Old boards versus new boards |
Curcio Audio has a number of nice tutorials on the PAS, including one to make the
Phono board a bit more accurate. I performed those mods, along with bypassing the tone controls. I sourced a new input output board from
Tubes4Hifi to connect to the Elma switch. I also picked up an Alps volume control (100K) and balance control, along with PCBs to make soldering a little easier.
 |
| Mostly done |
The wiring was completed using Neotech PCOCC in teflon wiring, Kimber wiring and SPC in teflon. Russian teflon bypass caps were added to the main board (mounted to the front), and Russian PIO were used on the phono board. A power LED board was sourced from ClassicValve, and a new transformer was sourced from TriodeElectronics. After all was said and done, I sent off the PAS to Sal at
Dynaco-ST70.com to look over all my wiring and fire it up. I wanted to have an expert give it the final eye and do the final wiring.
Here's the final build:
 |
| PAS guts from the right |
 |
| PAS guts from the left |
 |
| Inside Detail |
 |
| Inside Detail |
 |
| Bottom wiring |
 |
| Outside with new gold front panel from ebay |
 |
| Outside Photo 2 |
 |
| Rear, notice rear vent and Cardas output RCAs |
Some final details were the Cardas RCAs added to use the holes made by the initial owner, a power supply vent to eliminate the ugly holes in the chassis, the bottom slots were covered using slightly larger than stock power receptacles from Radio Daze, and the front panel was replaced with a gold anodized version from Michael Nipomo on eBay (he typically only sells black and silver, but had this gold one as a one-off).
This little baby was an amazing amount of work, but it came out well and I'm really happy with it. Good luck to everyone out there restoring their PASs :)
Wondering where I got all my parts for this build? Check out a list of my favorite online vendors
here.
Please remember that building circuits and performing circuit modifications can be dangerous to you and/or your surroundings and should only be performed by a certified technician. The owner of this blog and all associated parties can not / will not be held responsible if you attempt a build or modification posted above and cause physical harm to yourself or your surroundings. Many electronics contain high voltages that can kill, and mods, if performed improperly, can be a fire hazard. Please keep this in mind.